

How to make Crackle Paint with white latex paint and white glue. A story about refinishing a thrifty mirror with a crackle finish.
Our 1990s Powder Room in Our 1890s House
Our downstairs powder room came with a perfectly functional 1990s silver mirror and 1990s light fixture. I actually like it well enough, but it just didn’t suit the 1890s house. This is a small but functional two piece powder room, just off of the family room and kitchen – at our main entrance (side door).
DIY Powder Room Makeover
Our powder room was working just fine for us, until one day in the depth of winter when our pipes froze and we knocked a hole in the wall in the middle of the night to thaw the frozen pipe. Eventually we solved that problem – but that led to a quick DIY sprucing up!
We put down down penny tile, replaced the toilet, moved the sink, stained the vanity, put in historic baseboards and then painted the room off-white. We actually took quite a long time to finish this project – but we did most of it ourselves – and we didn’t lose a bathroom or have to move out of our house!
Anyhoo – the mirror and light fixture – looked nice but a little too 1990s when we wanted to look a little bit vintage……

Searching for a Vintage Mirror
I searched the antique stores for the perfect vintage white mirror and light fixture – but I never found a mirror in the right size – or an over the mirror light fixture with modern electrical fittings that worked. Then – we moved into that pandemic period and shopping stopped!
I had been hoping to find a weathered looking white mirror, with a bit of gold or silver revealed underneath – like a crackle finish.
DIY Crackle Paint Mirror Project
I had in my treasure trove (AKA basement) a Walmart $10 mirror from way back when. The mirror was just the right proportion for over the sink! I decided to try to turn this cheezy mirror into a vintage white crackled mirror with things that I had on hand!

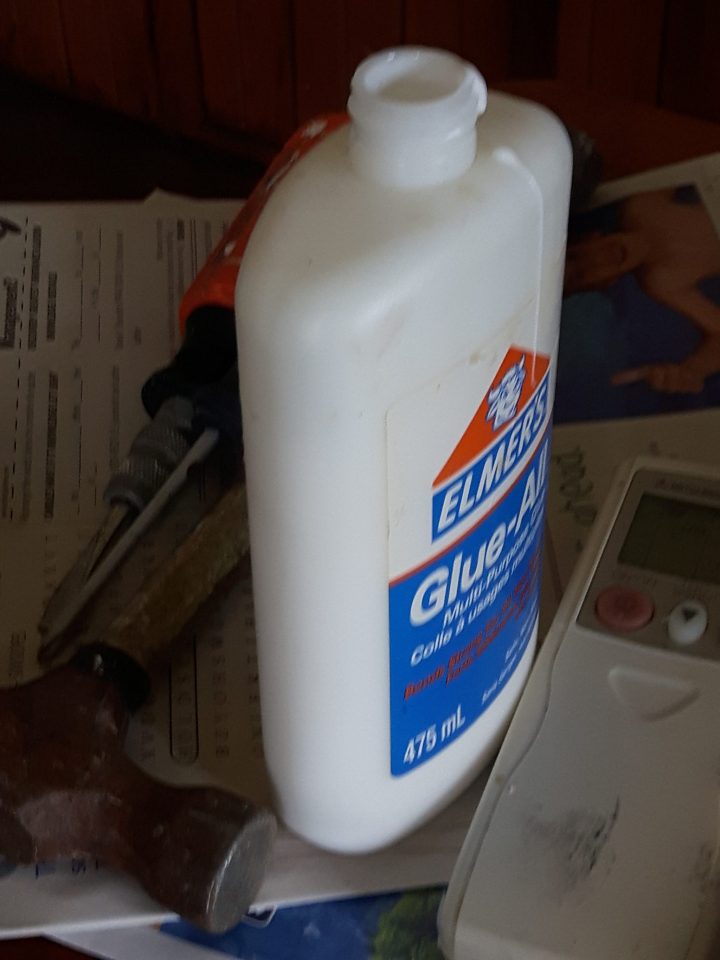
I taped the glass over with painters tape – and brushed on some Elmer’s white glue. I had an old bottle in my basement, but I think any white glue would have done the trick.
I brushed the glue all over the frame of the taped mirror.


While the glue was still tacky, I brushed on white latex semi gloss paint. There’s always part of a can of white paint lurking in my basement, waiting for another project.

As the paint dried over the glue – the crackle started to appear.

Vintage Crackled Frame Mirror
The white paint crackled nicely, revealing the gold paint underneath. This project used glue, paint and a mirror that I had on-hand already. Perhaps someday I will find that perfect vintage crackled mirror – BUT – using things that I had on-hand I was able to create a more “vintage” look with very little effort.
It was easy! Oh, and I replaced the light fixture shade with some seeded glass shades that I bought online.

There are still some plugs to finish up (you can see one in dangling in the mirror), some hardware to replace and some trim to install, but things are looking better in our powder room.
This is one of those DIY projects that used things we had on hand! Aren’t those the best kind?
How to Create a Crackle Finish
To create a crackle finish with white paint and white glue, follow these steps:
Materials:
- White latex paint
- White school glue (Elmer’s glue or similar)
- Paintbrush or foambrush – one for glue and one for paint
- Optional: sandpaper and wax or sealant
Steps:
- Start by applying a base coat of whatever colour paint on the surface you want to crackle. Allow the paint to dry completely. For this project I left the mirror in its’ original gold colour – as I wanted the gold to be revealed under the crackled white paint!
- Next, apply a coat of white school glue over the dried paint. Use a paintbrush or foam brush to spread the glue evenly over the surface.
- Wait for the glue to become tacky but not completely dry. The timing will depend on the humidity and temperature, but it usually takes around 10-20 minutes.
- Once the glue is tacky, apply a second coat of white latex paint over the glue layer. As you apply the paint, you will notice that it starts to crackle as it dries.
- Allow the paint to dry completely. It will continue to crackle as it dries.
- Once the paint is dry, you can lightly sand the surface with sandpaper to smooth out any rough spots or edges if you want. I did not sand!
- If desired, you can apply a wax or sealant to protect the finish and give it a polished look. I did not apply the sealant – and two years later the surface is fine!
That’s it! With these simple steps, you can create a beautiful crackle finish with white paint and white glue.
Thanks for stopping in at Everyday Lillie. Please have a look around as much as you like. If you enjoyed the visit, please feel free to follow, share, comment or like. Please drop in again soon!
Follow Everyday Lillie on WordPress.com
Fantastic
Thanks Sheree!
Pleasure
Cool idea! Also I will be nominating you for an award soon!
Oh Wow thank you!
You’re welcome 😇