The cucumbers are ready to pick! A recipe for bread and butter pickles.
We were taking a drive – and then I saw the sign – “Fresh Cuc’s Picked Today” – I said – “STOP THE CAR!!” – the cucumbers are in!! Are you ready to make pickles?

Bread and Butter Pickle Recipe
We are once again making Bread and Butter Pickles (among other things!) and “putting up” vegetables. Our newly acquired cucumbers are the preferred “Kirby” pickling cucumbers, about 3 to 4 inches in length – which when sliced vertically seem to fit well into smaller mason jars.

Every year we enjoy canning and making several different preserves, with fresh produce from the garden, and from wherever we can find it I especially love pickles!

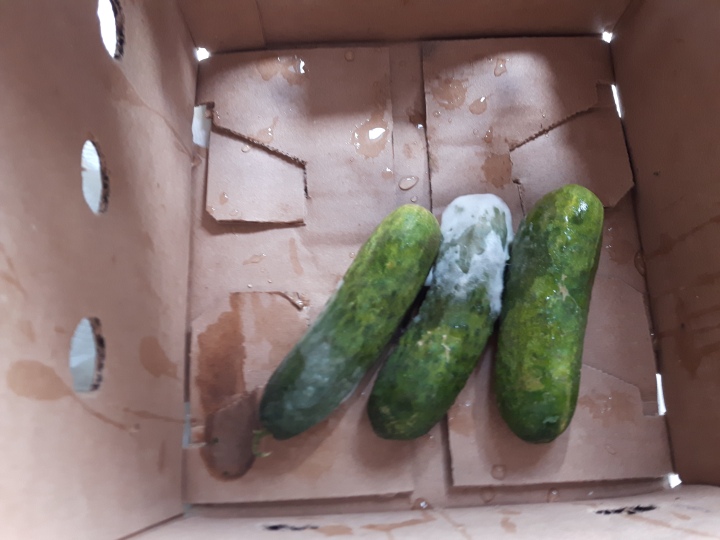
The small cucumbers known as Kirby cucumbers, come into the stores and farmers’ markets all at once, and are the best to use for these sandwich or “bread and butter” pickles. I do find that they go moldy very quickly – so if you purchase them, plan to pickle and can them immediately for best results. If you see some at the market, try to inspect the bottom of the basket – as the ones at the bottom may be mushy or moldy if they are in a big container.
You will want to throw anything mushy or moldy out! (or into the compost).

You may ask – can you use those long store-bought cucumbers for pickling? Well you could – but supermarket cucumbers often have a wax coating – which just doesn’t work with pickling! The wax can sometimes contain milk products which is also trouble for the dairy free among us……

Kirby or Pickling Cucumbers
The smaller Kirby cucumbers have thinner, bumpier skins and fewer seeds formed inside – which makes for lovely crisp pickles. By the way – those seeds can upset some people’s stomachs – so who needs more seeds anyway?
Kirby cucumbers are sometimes labelled as pickling cucumbers. I’ve never actually seen a seed packet labelled “Kirby” – have you?
Always Use Tested Preserve Recipes
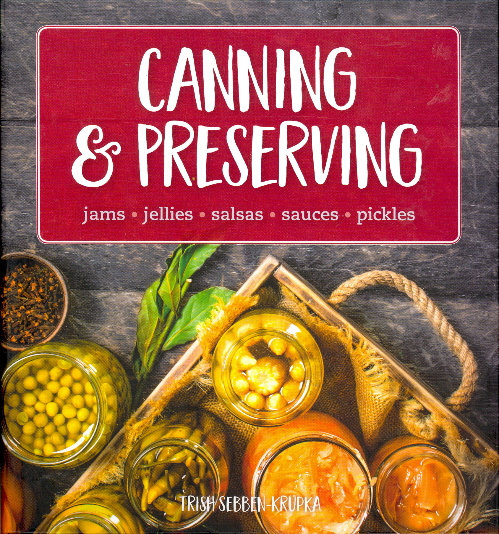
When canning pickles or jams, I always use a tried and true recipe. It is important to get things just right to balance the acid and sugar levels and make sure the food is properly preserved. I start with recipes from Bernardin Home Canning, Certo, Ball Corporation or my favourite canning cookbook. My copy of Better Homes and Gardens “You Can Can” is well used! – Sorry, I can’t find a link for it anymore. It’s probably time to read something new though…….
 | $11.87 |
| Canning & Preserving: Jams, Jellies, Salsas, Sauces, Pickles | |
The recipe below is based upon the Bernardin Bread and Butter Pickle Recipe but altered after comparing to my “You Can Can” recipe book. I always compare method, measurements and spices – to see if recipes make sense and fiddle with the spices. Pickling and jam recipes are always confusing when it comes to the quantity of vegetables/fruit – how many pounds to ounces to quarts to cups to individual cucumbers do they mean anyway?
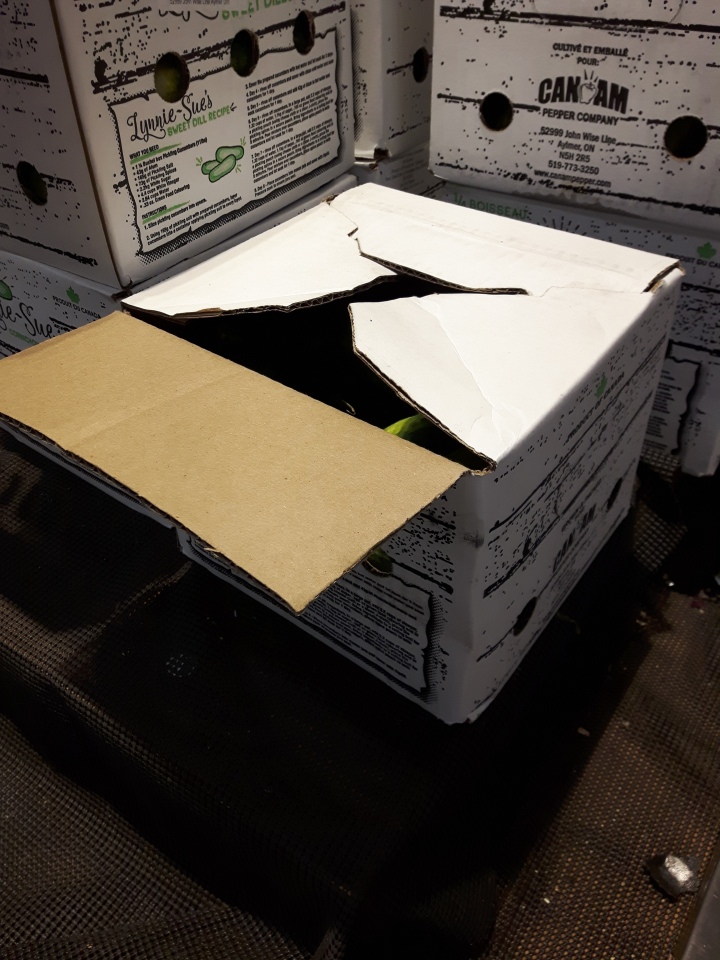
For example at the supermarket they sell big boxes labelled as 1/4 bushel. How many is that anyway? How many cups or pounds is that?

I like to use cups, to measure but that’s just me. But don’t worry – the key is, at the end – how many pickle slices fit in each jar – and to make sure that they are covered with the liquid.
THERE IS A PRINTABLE RECIPE CARD AT THE BOTTOM OF THIS POST.
Ten 250 ml Jars
This recipe called for 5 500ml mason jars or 10 250 ml jars. Have several extra jars on hand just in case you produce more pickles so you can preserve them properly.
I find that if I pack the pickles vertically -the smaller 250 ml jars work really well to fit the pickles neatlly.

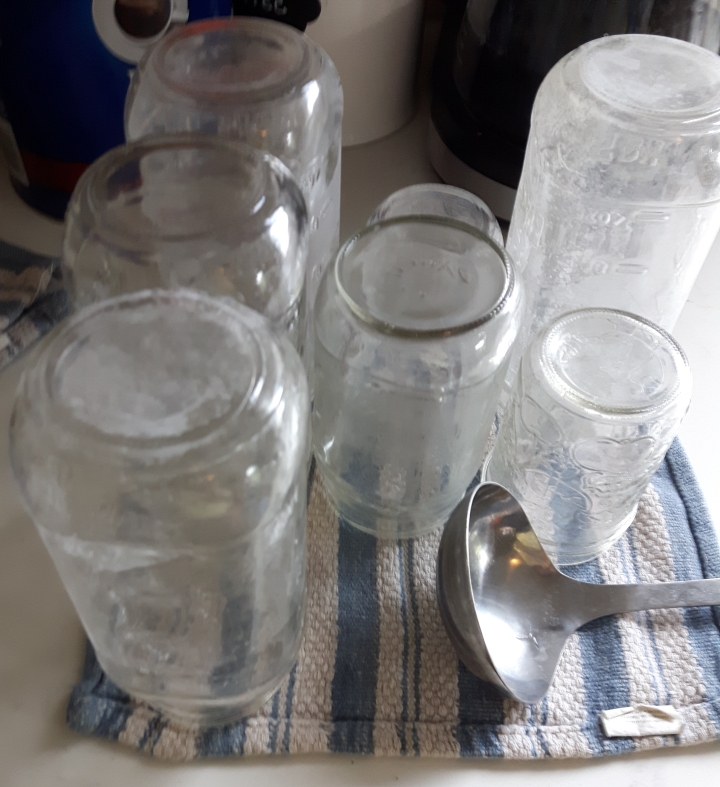
I wash the jars, then I boil them in a big pot first for 10 minutes to sterilize. I boil the screw bands as well, and then get all my jars ready on a clean surface. I leave the hot water on the stove – and heat the snap lid – sealing disks in it for a few minutes as I am filling the jars.

How Many Cucumbers?
This version of the recipe uses 10 cups of 3 and a half inch or so Kirby cucumbers – sliced vertically. This was about 3/4 of a 1/4 bushel box – or about 3 pounds.
Preparing the Cucumbers
We scrub the cucumbers first and cut off the little end bits. We could slice horizontally – but I like the long slim pickles for on top of hot dogs or sandwiches. My husband makes wonderful thin slices. We worried the first time we made them that they wouldn’t stay crisp (but they did!).

We also used one large white onion – thinly sliced – and four big cloves of garlic – peeled and cut in half. Some recipes call for more onions – but the onions are for a little contrast in texture anyway – it’s all about the pickles.
Bread and Butter Pickle Ingredients
- 10 cups sliced 3-4 inch cucumbers
- 1 large white onion – thinly sliced
- 4 peeled garlic cloves – sliced
- 6 cups cold water
- 1/2 cup pickling salt
- 3 cups apple cider vinegar
- 2 cups dark brown sugar – packed
- 2 tbsp mustard seed
- 1 tsp celery seed
- 1 tsp ground turmeric
- 1 tsp ground cloves
Preparation Instructions:
Combine cucumber slices, onion slices, garlic water and pickling salt in a large bowl. Give it a good stir without crushing the vegetables and make sure that they are covered by the salt water. You have created a brine for the cucumbers, so let the cucumbers stand in the salt water for 2 hours. I put my large bowl in the refrigerator to stand. Some recipes call for you to place crushed ice over the cucumbers – but making sure they are submerged in the water and placing them in the refrigerator works!

Combine sugar, vinegar and spices in a large non-reactive pot – I used my stainless steel spaghetti pot. Bring mixture to a boil, stirring to mix ingredients.


Drain water from vegetable mixture – rinse and drain again. Add vegetables to vinegar mixture. Bring mixture to a full boil again, stir and turn off heat.


Transfer the pickle slices and onions to jars. Use tongs or forks. Press cucumbers and onions to within 3/4 inches of the top of each jar.
It takes a bit of coordination to put the pickles upright in the jars. I ladled the pickles directly into the jars and they folded up and scrunched in the first year we tried this. We were disappointed at first with my abilities – those storebought bread and butter sandwich pickles are straight up and down in the jar. But we pressed the cucumbers and onions down into each jar – they were all folded up.
In later years we have mastered getting those slices vertically in the jar – but no worries – they are perfectly fine folded up!
Then stir the hot liquid and ladle it into each jar – over the cucumbers and onions – so that the liquid completely covers the cucumbers and onions – and reaches 1/2 inch from the top of the jar. Press the pickles down some more. The cucumbers and onions need to be completely covered by liquid.
(If things aren’t working well and you have way more pickles than liquid, you can make another batch of the liquid – following the same proportion – and boiling it up – but be quick!)
Heat the sealing discs. Wipe the jar rims clean. Place the hot sealing disc on each jar. Apply the screw band, and tighten just to fingertip tight. Place the filled jars in the hot water canner. Make sure that the jars are covered by at least one inch of water. Bring water to a full rolling boil. Boil jars for 10 minutes (at higher altitudes – boil for 15 minutes).
Turn off heat. After 5 minutes, remove jars (keeping upright) from water. I use some metal kitchen tongs – but I also love my silicone oven mitt for this. It’s waterproof so I don’t burn myself.
Leave the jars alone to cool. You will gradually hear them pop as the discs seal and curve inwards. Once the jars are fully cooled you can wipe them off and store them in a cool dark place. Jars that are not properly canned should be refrigerated.
Below is a printable recipe card from RecipesGenerator. Please give it a try!
Thanks for stopping in at Everyday Lillie. Please have a look around as much as you like. If you enjoyed the visit, please feel free to follow, share, comment or like. Please drop in again soon!
Follow Everyday Lillie on WordPress.comThis post contains affiliate links and I will be compensated if you make a purchase after clicking on the links. There will be no additional cost to you.


Ah, pickling season! I will be making dill pickles soon! It always feels bittersweet, the summer on the down slide!
I’m not sure if I’ll get to the dill pickles this year. It does feel bittersweet. We’re having a bit of cool weather now sadly.
It’s been a difficult year. Right now, we’re having yet another big thunder storm and downpour!
Bread and butter pickles are the very best, hard to believe the season for making them has arrived so quickly!
I love all sorts of pickles – but I agree bread and butter are my favourites.
Your post about making bread and butter pickles is not only informative but also mouthwatering. The step-by-step guide and the delicious photos make the process seem both easy and appetizing. Homemade pickles are a treat, and your recipe is sure to inspire others to try their hand at making these tasty snacks. Thanks for sharing your culinary expertise! 🥒🍽️👨🍳